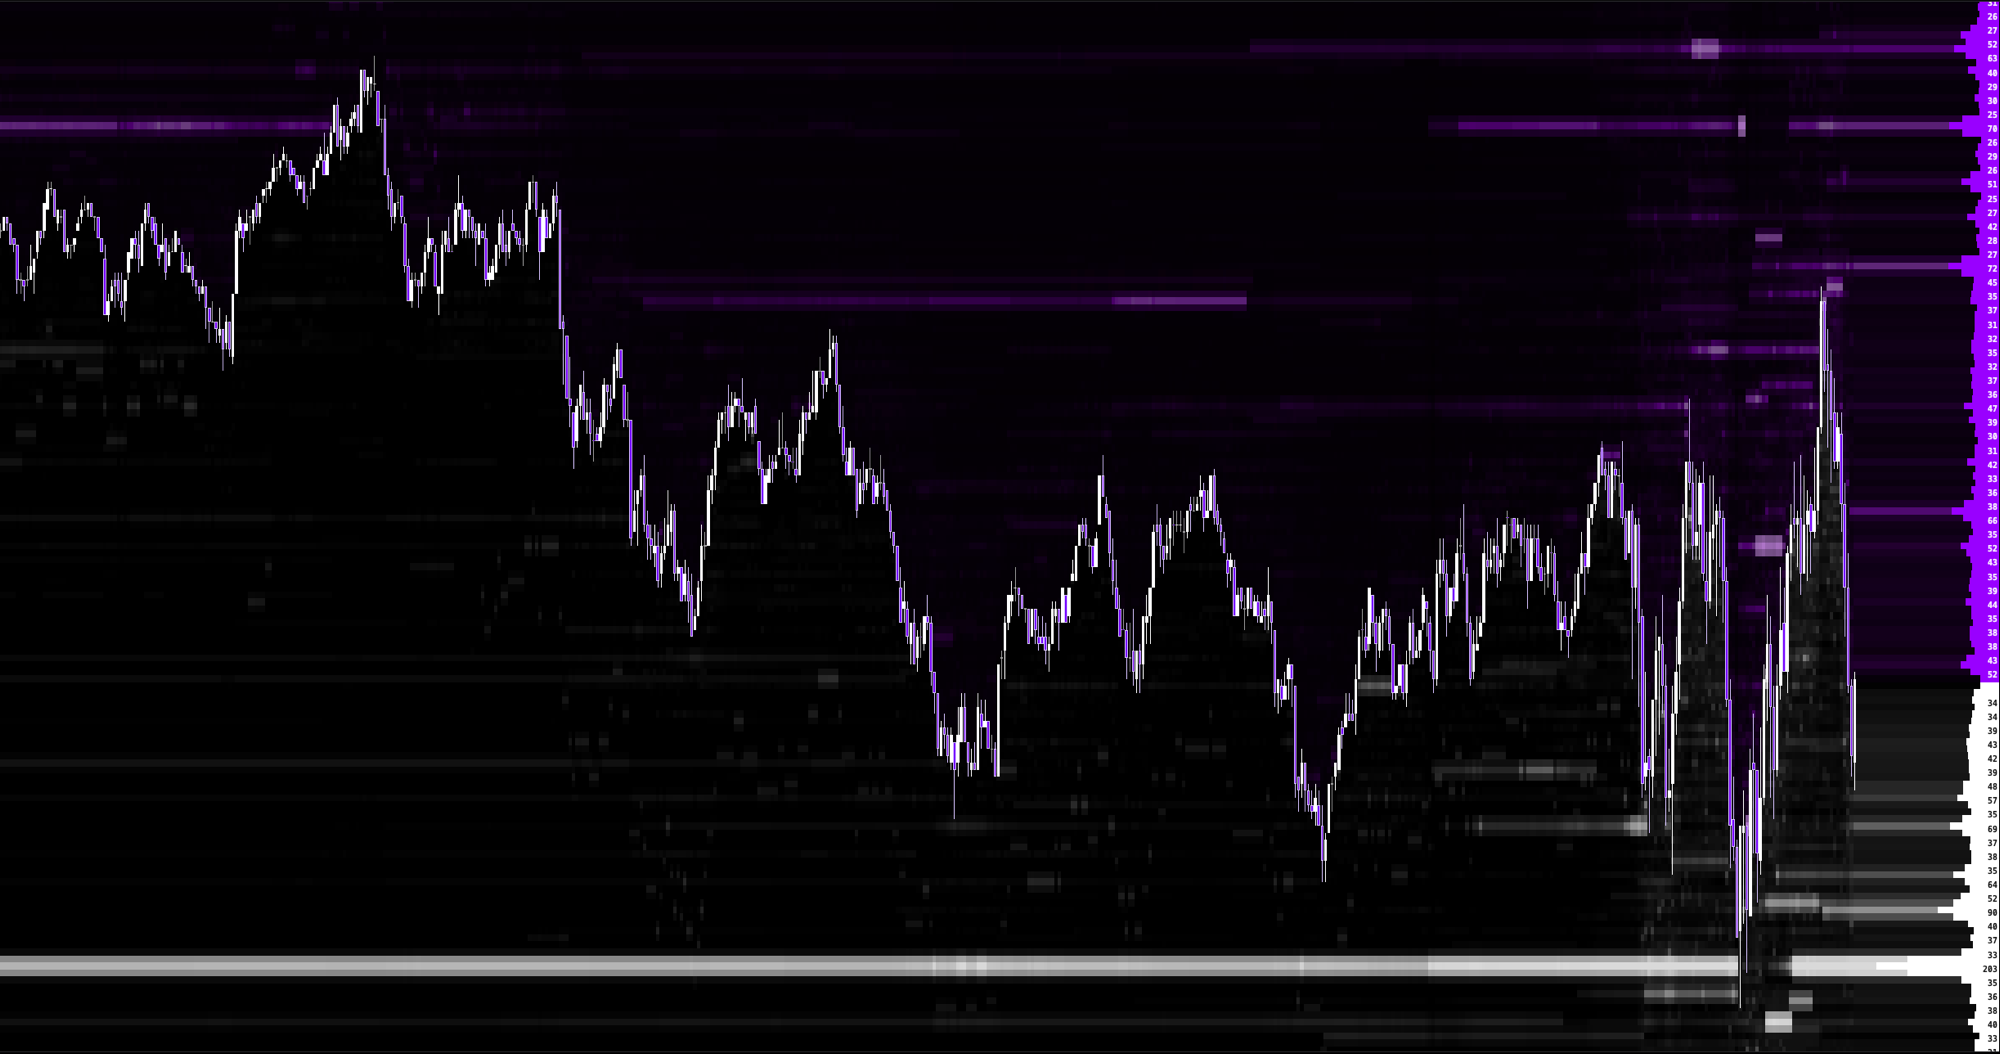
Builtins: Effort Zones and Range Absorption zones
The zones the chart's own Effort Zones and Range Absorption indicators drew, read by name. A script gets exactly the boxes you see on the chart, with that indicator's own settings: the top, the bottom, the first bar and the side of each zone. The two families have the same builtins; write range_absorption where the examples say effort_zones to read the other one. Use them to alert when price enters a zone, count big trades inside a zone, recolour candles that close through one, or state how far away the nearest one is.
| Signature | Returns |
|---|---|
| effort_zones.available() -> bool | Whether a visible Effort Zones indicator is on this chart |
| effort_zones.count() -> int | How many of its zones cover this bar, 0 without the indicator |
| effort_zones.started() -> int | How many of those zones begin on this bar |
| effort_zones.high(index: int) -> float | Top of a zone covering this bar |
| effort_zones.low(index: int) -> float | Bottom of that zone |
| effort_zones.start(index: int) -> float | Start of the zone's first bar, epoch milliseconds |
| effort_zones.side(index: int) -> side | BUY, SELL, or UNDEFINED when the zone has no side |
| effort_zones.at(price: float) -> int | Index of the newest zone whose band holds the price, edges included, or -1 |
| effort_zones.above(price: float) -> int | Index of the zone entirely above the price with the lowest bottom, or -1 |
| effort_zones.below(price: float) -> int | Index of the zone entirely below the price with the highest top, or -1 |
| range_absorption.available() -> bool | Whether a visible Range Absorption indicator is on this chart |
| range_absorption.count() -> int | How many of its zones cover this bar, 0 without the indicator |
| range_absorption.started() -> int | How many of those zones begin on this bar |
| range_absorption.high(index: int) -> float | Top of a zone covering this bar |
| range_absorption.low(index: int) -> float | Bottom of that zone |
| range_absorption.start(index: int) -> float | Start of the zone's first bar, epoch milliseconds |
| range_absorption.side(index: int) -> side | BUY, SELL, or UNDEFINED when the zone has no side |
| range_absorption.at(price: float) -> int | Index of the newest zone whose band holds the price, edges included, or -1 |
| range_absorption.above(price: float) -> int | Index of the zone entirely above the price with the lowest bottom, or -1 |
| range_absorption.below(price: float) -> int | Index of the zone entirely below the price with the highest top, or -1 |
- Zone indexes run from 0 to count() minus 1, oldest zone first, and cover only the zones on THIS bar. A zone covers every bar from its first bar to its last, and a zone still running covers the newest bar.
- -1 is none: high, low and start answer nan and side answers UNDEFINED. at, above and below answer -1 when no zone fits, so their answer can be passed straight into high, low, start or side. A nan price answers -1, and on a tie in above or below the newest zone wins.
- Absent is not empty. Without the indicator visible on the chart every bar answers available() false and count() 0, and the settings under the editor say Effort Zones Required or Range Absorption Required. With it, a bar no zone covers answers count() 0.
- Zones appear as the chart draws them. A script sees exactly the boxes on the chart, live and at the replay playhead alike. The indicator's own settings decide which zones exist; a script reads them and cannot change them.
- effort_zones.* and range_absorption.* return the zones exactly as the chart draws them. On past bars a zone shows from its first bar, which can be a few bars before the chart first drew it.
Effort Zones is read on the bar it describes. Draw at a zone, tint candles inside one, alert when price enters one, or state how far the nearest zones are. Output that would have to be stored or carried across bars is not accepted, and the builder says so in one line.
let zone: int = effort_zones.at(close)
let in_zone: bool = zone >= 0
let entered: bool = bar_index > 0 && in_zone && !in_zone[1]
let zone_side: side = effort_zones.side(zone)
plot.marker(entered && zone_side == "BUY", low, "#22C55E", "triangle", "below", 10, 3)
plot.marker(entered && zone_side == "SELL", high, "#EF4444", "triangle", "above", 10, 3)
let next_up: int = effort_zones.above(close)
plot.label(str.concat("NEXT ZONE ABOVE ", format.fixed(effort_zones.low(next_up), 2)), "#E5E7EB")