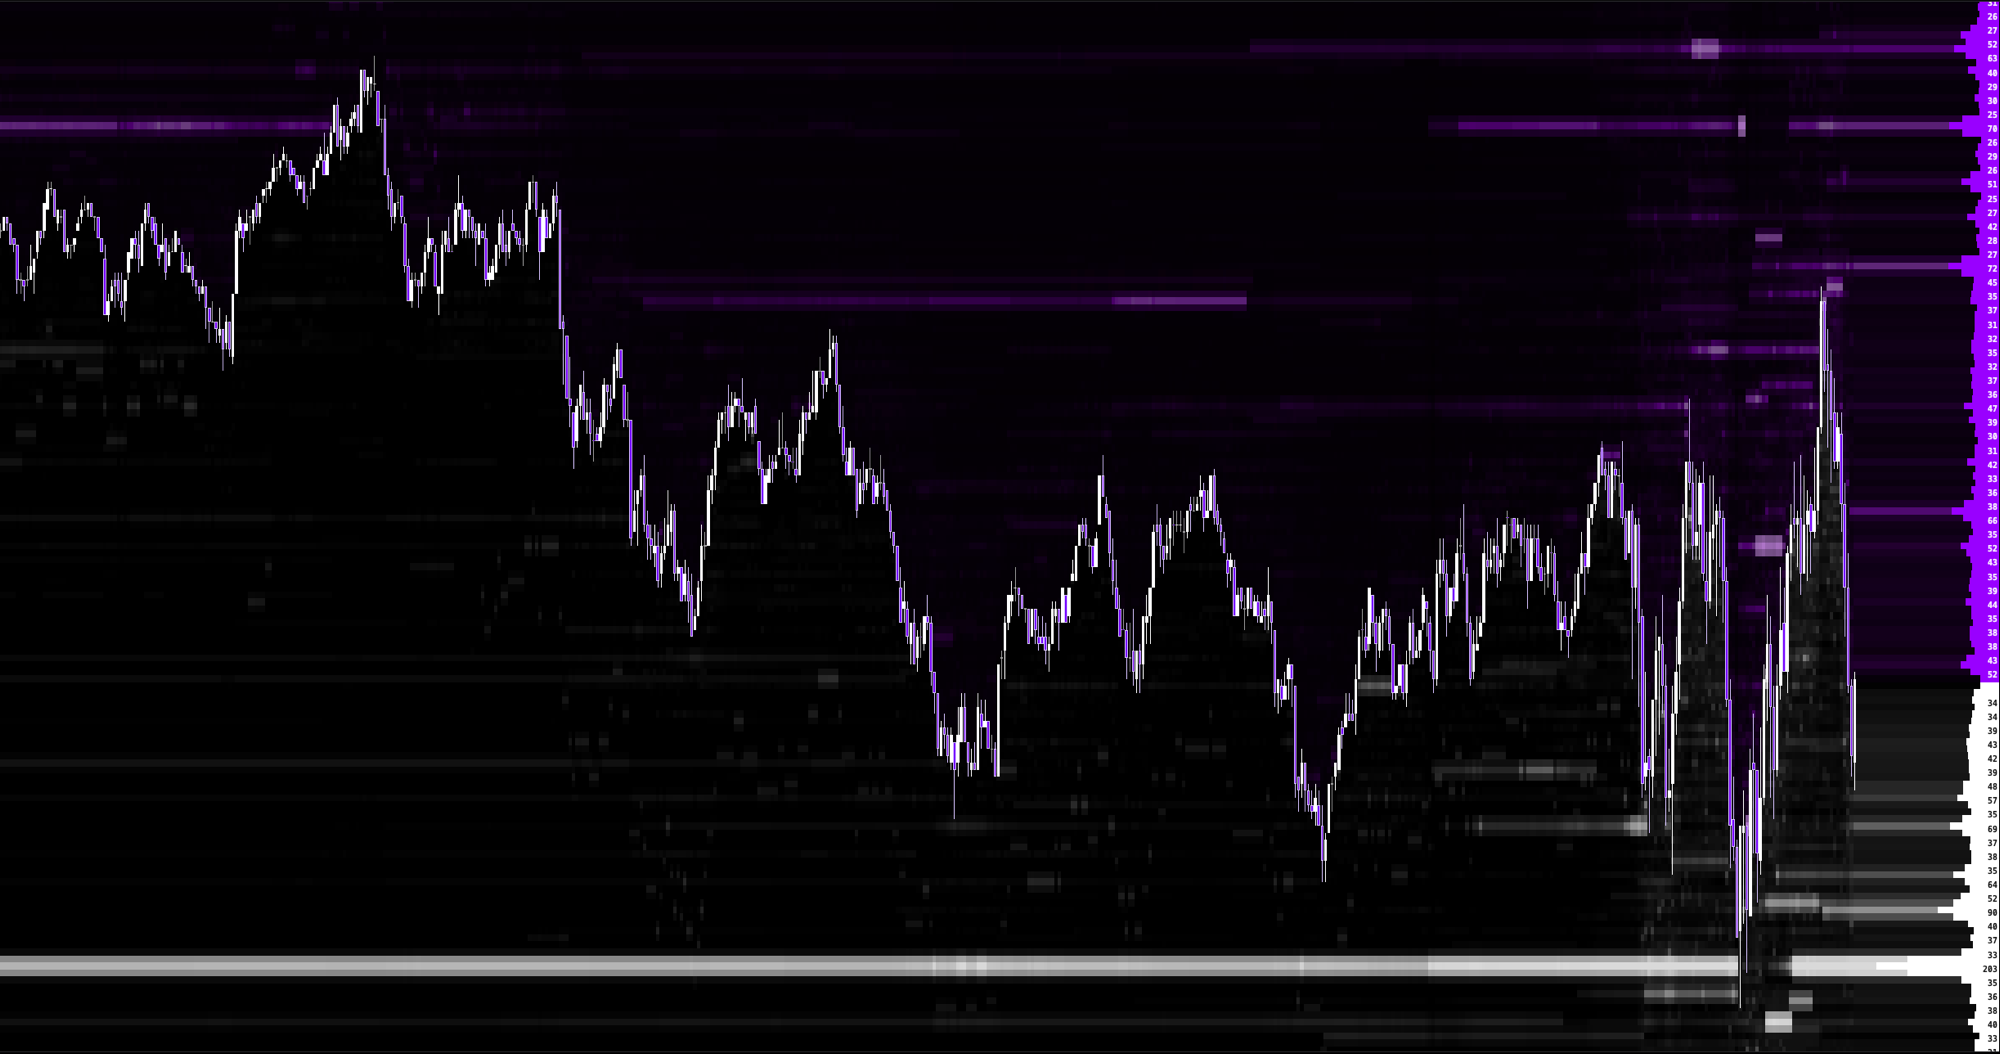
Builtins: FVG gaps and the Stop Run, Iceberg and Delta Spike markers
Four more chart indicators are read by what they draw. FVG draws gaps, which a script reads exactly like zones. Stop Run, Iceberg and Delta Spike draw markers, which a script reads one marker at a time. Each needs its indicator visible on the chart and uses that indicator's own settings.
FVG
| Signature | Returns |
|---|---|
| fvg.available() -> bool | Whether a visible FVG indicator is on this chart |
| fvg.count() -> int | How many of its gaps cover this bar |
| fvg.started() -> int | How many of those gaps begin on this bar |
| fvg.high(index: int) -> float | Top of a gap covering this bar |
| fvg.low(index: int) -> float | Bottom of that gap |
| fvg.side(index: int) -> side | BUY for a bullish gap, SELL for a bearish gap |
| fvg.start(index: int) -> float | Start of the gap's first bar, epoch milliseconds |
| fvg.at(price: float) -> int | Index of the newest gap whose band holds the price, edges included, or -1 |
| fvg.above(price: float) -> int | Index of the gap entirely above the price with the lowest bottom, or -1 |
| fvg.below(price: float) -> int | Index of the gap entirely below the price with the highest top, or -1 |
- A gap covers the bars from the bar that completed it through the bar its box ends on. Indexes run oldest gap first, and -1 is none, exactly as for the zones above.
- side is the gap's own direction, whatever colour the chart paints it.
- Without the indicator visible the settings say FVG Required.
Stop Run, Iceberg and Delta Spike
| Signature | Returns |
|---|---|
| stop_run.available() -> bool | Whether a visible Stop Run indicator is on this chart |
| stop_run.count() -> int | How many of its markers sit on this bar |
| stop_run.price(index: int) -> float | The market price the marker stands for |
| stop_run.side(index: int) -> side | BUY for a buy side marker, SELL for a sell side marker |
| iceberg.available() -> bool | Whether a visible Iceberg indicator is on this chart |
| iceberg.count() -> int | How many of its markers sit on this bar |
| iceberg.price(index: int) -> float | The market price the marker stands for |
| iceberg.side(index: int) -> side | BUY for a buy side marker, SELL for a sell side marker |
| delta_spike.available() -> bool | Whether a visible Delta Spike indicator is on this chart |
| delta_spike.count() -> int | How many of its markers sit on this bar |
| delta_spike.price(index: int) -> float | The market price the marker stands for |
| delta_spike.side(index: int) -> side | BUY for a buy side marker, SELL for a sell side marker |
- Each marker sits on its own bar only. A bar's markers are indexed from its lowest price up, and -1 or an index past the last marker answers nan or UNDEFINED.
- price is the market price the marker stands for, the same at every zoom, even though the chart draws the marker glyph slightly offset from it.
- side is BUY for the indicator's buy side marker and SELL for its sell side marker, the same split the indicator shows with its two colours.
- iceberg.* reads the Iceberg indicator. For individual resting orders, including Iceberg MBO's, use mbo.*.
- Delta Spike may be on the chart more than once; a script reads the first visible one.
- Without the indicator visible the settings say Stop Run Required, Iceberg Required or Delta Spike Required.
let gap: int = fvg.at(close)
let run_price: float = stop_run.price(0)
let run_in_gap: bool = stop_run.count() > 0 && fvg.at(run_price) >= 0
plot.marker(run_in_gap && stop_run.side(0) == "BUY", run_price, "#22C55E", "circle", "below", 10, 2)
plot.marker(run_in_gap && stop_run.side(0) == "SELL", run_price, "#EF4444", "circle", "above", 10, 2)
plot.candle_color(gap >= 0 && fvg.side(gap) == "BUY", "#22C55E", 0.35)